Devlog #5: Grid Configuration Management
Today I wanted to talk about Grid Configuration Management. Basically, how do you manage your grids in your game so that it'll be exactly what you want for your battles.
What is a grid configuration?
It's basically a data structure that tells the game the properties of the grid(s) that you want to use in the battle. The general format of a grid configuration is
{ "Grid_Config_Name" :
  {
    "name of grid 1" : GRID_DATA,
    "name of grid 2" : GRID_DATA,
    ...
  }
}
So basically, you have the name of your grid configuration, which contains a bunch of grid data.
A single grid configuration can have multiple grids defined within. So you can mix and match different types of grids in the same game just by providing different configurations. This allows you to basically create multiple battle systems in one game.
For example, say you wanted the classic RPG Maker battle system where you have actors on one side and enemies on the other for your default battle system, but then for certain special minigames, you wanted to have a tactics battle system. They would simply be two different grid configurations all in one.
Grid Data
Each grid is composed of a set of data that describes various properties, such as
- tile size - width and height of your tiles, in pixels
- grid position - pixel offset of the entire grid, if you don't want it to start at the upper-left corner of the screen.
- grid size - number of rows and columns
- party positions - describes where actors will be placed on the grid, based on their PARTY index (eg: 1 is leader, 2 is first follower, etc)
- actor positions - describes where actors will be placed on the grid, based on ACTOR ID. Might be useful if you don't want to rely on party order, like for specific storyline battles.
- enemy positions - describes where enemies will be placed on the grid, based on their troop index (order they're added)
As new features are developed, more properties will be available
Creating a Grid Configuration
1. We start by creating a new configuration. Say we wanted to create a two grid configuration called "Two Grid" because we're creative.
GRID.getBattleConfig("Two Grid")
This will create a configuration called "Two Grid".
2. The next step is to add a grid to it. Each grid also needs an ID, so we're just going to call it 1 because we're creative.
var data = GRID.getBattleGrid("Two Grid", 1)
This will get (or create) a grid called 1, added to the "Two Grid" configuration, and return an object that you can use to set up your properties.
3. First let's start with defining the size of each tile, in pixels. We'll use 64x64 pixel tiles because sideview actors are 64x64 in size.
data.setTileSize(64, 64)
4. Next, we want to define the size of our grid, which is the number of rows and number of columns. Let's say we wanted 4 rows of 2 columns.
data.setSize(4, 2)
5. Now, by default, the grid will be drawn at the upper-left corner of the screen. Which might not be suitable for us. We want Grid 1 to be for the actors, so we'll put it at (64 * 9, 64 * 2) on the screen in pixel coordinates. It's not necessary to work in terms of tile size, but for certain types of games it might be useful. Of course, you should take into consideration your game resolution (RPG Maker MV default is 816x624)
data.setGridPosition(64 * 9, 64 * 2)
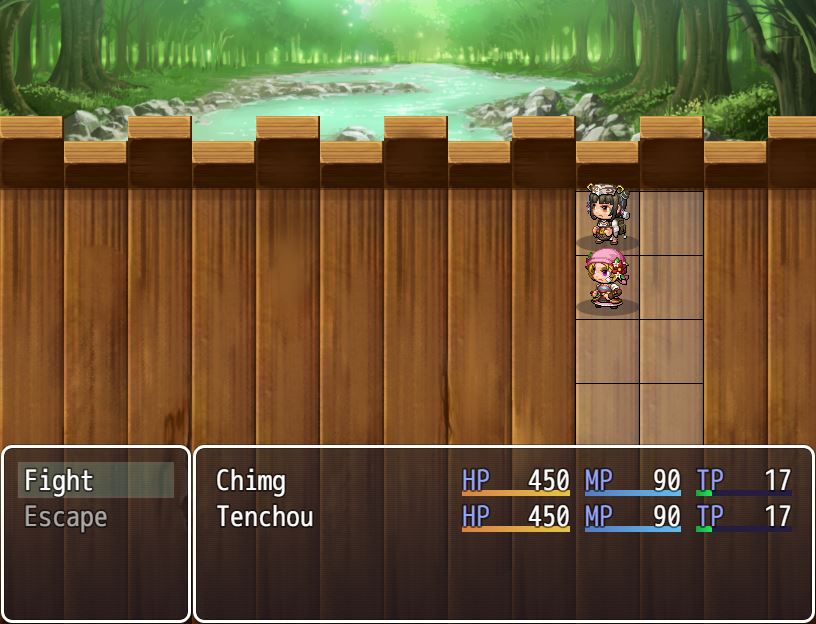
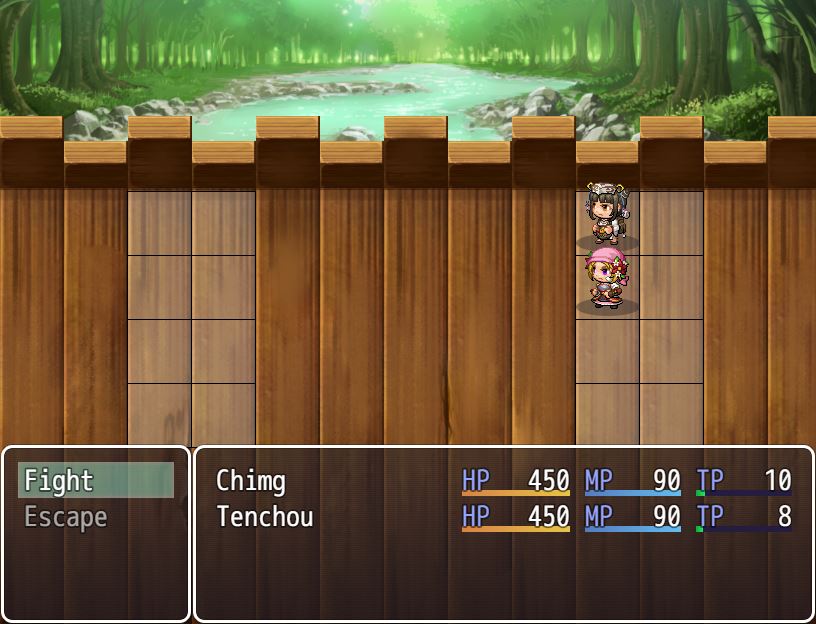
This is what we have so far, a whole lot of nothing except our 4x2 tile grid with 64x64 pixel tiles, positioned on the right side the of screen. This isn't what you're going to see, I'm just using it as demonstration (I already have actors added to it, I just made them invisible)

Now we want to add some actors and enemies to it.
6. Let's start with actors. There are generally two different ways to set up actor positions: party position, and actor ID designation.
Party position is probably good enough for most purposes: 1 is the leader, 2 is the next member, and so on.
data.setPartyPosition(1, [1,1])
data.setPartyPosition(2, [2,1])
This will place the leader at row 1, column 1, and the second party member at row 2, column 1.
Actor ID is a specific actor based on the database. This is useful if you wanted to place a specific actor in a specific position on the battlefield. This isn't supported at the moment.
Now we have our first grid set up. It's time for our second grid, which will hold the enemies
Creating a Second Grid
We do the same steps, except this time we want to use grid 2 instead of 1.
var data = GRID.getBattleGrid("Two Grid", 2)
data.setTileSize(64, 64)
data.setGridPosition(64 * 2, 64 * 3)
data.setSize(4, 2)
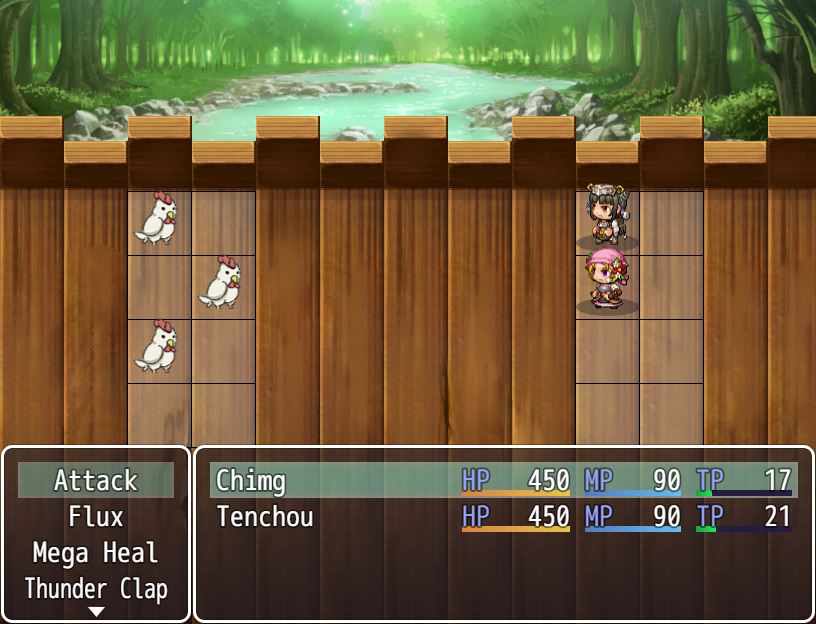
The usual grid setup. 4 rows, 2 columns, 64x64 pixel tiles. This time we position it near the left of the screen.
Now we add some enemies. The order is based on the position in the troop, which is the order that you add them in the editor by default. If you're using other plugins to add enemies to the troop, order might be a bit different.
data.setEnemyPosition(1, [1,1])
data.setEnemyPosition(2, [2,2])
data.setEnemyPosition(3, [3,1])
So if we have three enemies, it'll look like this
And that's about it for setting up a grid configuration.
Using Grid Configurations
Once you've created your configuration, you can start using it. Anytime before a battle begins, you can say
GRID.useBattleConfig("Two Grid")
And then the battle will always use that configuration. If you want to use different configurations, you just have to use a different configuration. For special evented battles, you might say something like
GRID.useBattleConfig("Boss Battle 1")
// battle processing
GRID.useBattleConfig("Two Grid")
So first you switch to the "Boss Battle 1" grid, and then after the battle is over, reset it to the default grid.
Editing Existing Grid Configurations
It can be a bit tedious to have to create new configurations for EVERY single battle, even if you put it inside a common event. Maybe you just want to change the enemy positions a bit for each random encounter.
Remember this line
var data = GRID.getBattleGrid("Two Grid", 2)
If grid 2 for "Two Grid" has already been defined before, it will remain in memory, which means all of the properties will be retained even after the battle is over.
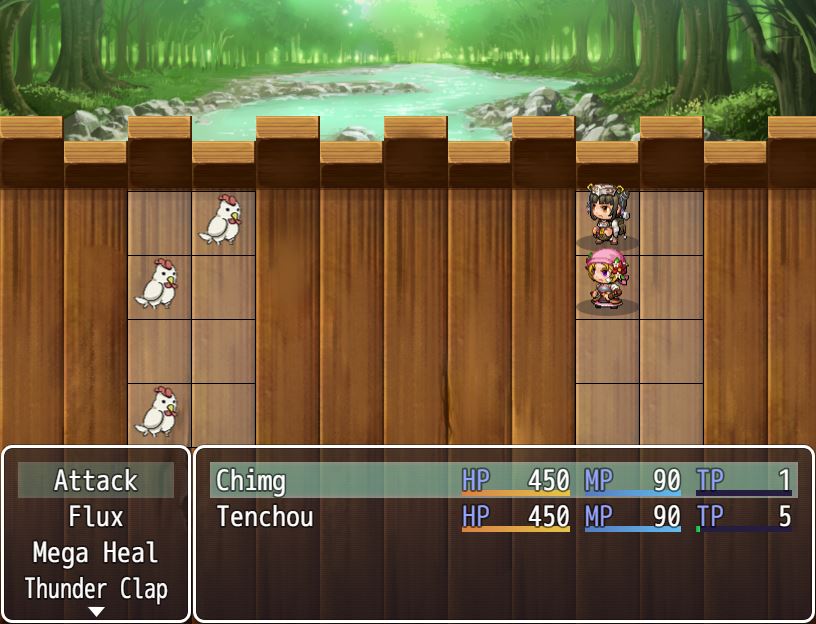
So if you wanted to just change the enemy positions, you can just directly set some new positions
data.setEnemyPosition(1, [1,2])
data.setEnemyPosition(2, [2,1])
data.setEnemyPosition(3, [4,1])
But be careful, because the grids are stored in memory, it's possible that old configurations might get mixed in with your current battle.
I'll have to think about how to address this problem to avoid such issues.
This will be how users will manage grids in their games.
Leave a comment
Log in with itch.io to leave a comment.